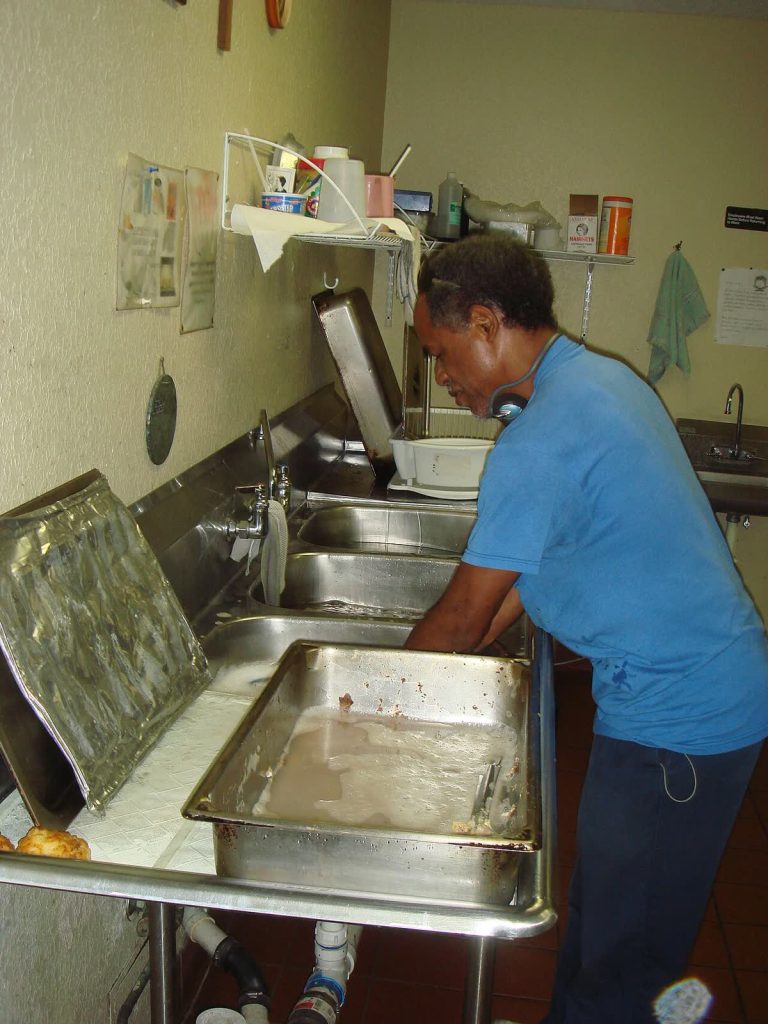
The 3 sink dishwashing method is the standard way commercial kitchens clean and sanitise dishes by hand: wash in the first sink, rinse in the second and sanitise in the third, then let everything air dry. It works because each stage does one job well. This guide gives the steps, the settings to check, common mistakes and a few tips for home or small-business use. Local health rules differ, so follow your own health department’s requirements.
Key takeaways
- The order is scrape, wash, rinse, sanitise, air dry.
- Use hot, soapy water for washing and clean water for rinsing.
- Sanitiser strength must be measured with test strips and followed as the label states.
- Never towel dry, because cloths can recontaminate clean items.
What the 3 sink dishwashing method is
Food service premises use a three-compartment sink so that cleaning and sanitising are separate steps. Cleaning removes visible food and grease. Sanitising reduces germs on the clean surface to a safe level. Doing both in one bowl, as many people do at home, is far less reliable. The method is described in food safety codes such as the US FDA Food Code; the FDA website is a good starting point for official guidance.
Equipment you need
- A three-compartment sink or three large basins
- Dish detergent suitable for manual washing
- A sanitiser such as chlorine bleach solution or a quaternary ammonium product approved for food contact surfaces
- Test strips that match your sanitiser
- A thermometer if you use hot water
- Brushes, scrapers and non-abrasive scourers
- A drying rack or shelf that allows air to circulate
Step-by-step: how the 3 sink dishwashing method works
- Scrape and pre-rinse. Remove food scraps into the bin or a scrap bucket. Soak heavily soiled pots if needed.
- Sink 1: wash. Fill with hot water, commonly at least about 43 degrees C (110 degrees F), with detergent. Scrub every surface and change the water when it becomes greasy or cloudy.
- Sink 2: rinse. Fill with clean water. Dip or spray items to remove detergent. Soap left behind can weaken sanitiser.
- Sink 3: sanitise. Immerse items fully for the contact time given on the product label. For a chlorine solution the contact time is typically around 30 seconds at the correct concentration. Test the strength with a strip.
- Air dry. Place items on a clean rack and let them dry completely. Do not wipe with a towel.
Wash order that keeps water cleaner
Start with the cleanest items and finish with the dirtiest: glasses first, then cutlery, plates and bowls, and pots and pans last. This keeps grease and food residue from spreading.
Settings and checks
| Stage | What to check | How often |
|---|---|---|
| Wash | Hot, soapy water, clear of heavy grease | Change when dirty |
| Rinse | Clear water, no suds | Change when soapy |
| Sanitise | Correct strength and contact time via test strips | Test at setup and regularly through the shift |
| Drying | Fully air dry on a clean surface | Every load |
Always follow the sanitiser manufacturer’s directions. Concentrations differ between chlorine, quats and iodine products. Hot water sanitising is another option but requires a high temperature and long contact, which many sinks cannot safely deliver, so chemical sanitising is the norm.
Common mistakes to avoid
- Skipping the rinse. Detergent residue can neutralise the sanitiser.
- Guessing the sanitiser mix. Too weak will not work, and too strong can be unsafe and leave residues.
- Not changing water. Dirty water cannot clean.
- Towel drying. Even a clean looking cloth can spread bacteria.
- Mixing chemicals. Never mix bleach with other cleaners, as it can release toxic gases.
- Overloading the sink. Items must be fully submerged and surfaces exposed.
Using the method at home
You do not need a three-compartment sink in a normal kitchen. You can use a sink and two basins, or a sink for washing, a basin for rinsing and another for a sanitising soak. This is especially useful after handling raw meat, when someone is ill, or for baby bottles and food prep tools. Follow label directions for household sanitiser, wash hands afterwards, and store chemicals away from food and children.
Clean kitchens also help with pests. If you notice fruit flies or similar insects, see our tips for dealing with tiny black flies in a bedroom, since drain and waste hygiene overlaps. And for food storage questions, our guides on whether panko breadcrumbs go bad and how long mushrooms last in the fridge cover safe handling.
Training and record keeping for businesses
If you run a food business, train every staff member on the process and post a simple step chart above the sink. Keep a log of sanitiser tests, especially during busy shifts. Environmental health inspectors commonly look for correct sink set-up, test strips on hand, no cross-contamination and properly stored equipment.
Setting up your sinks before service
A quick set-up routine makes the 3 sink dishwashing method faster and safer. Wash and sanitise the sinks and drainboards before you start, then fill each compartment and test the sanitiser. Label the sinks if you share the space, and place a clean drying rack on the end. At the close of the day, drain the sinks, scrub them, sanitise and leave brushes to air dry. Replace worn scourers regularly because they can harbour bacteria.
Quick pre-use checklist
- Sinks and surfaces cleaned and sanitised
- Water at the right temperature
- Detergent and sanitiser mixed and tested
- Test strips and thermometer within reach
- Drying racks clear and clean
Frequently asked questions
Why are there three sinks?
Separate compartments keep washing, rinsing and sanitising from interfering with each other, which makes the process more reliable.
How long should items stay in the sanitiser?
Follow the product label. For many chlorine solutions it is around 30 seconds, but check yours.
Can I dry dishes with a towel?
No. Air drying avoids recontamination from cloths.
How often should I change the water?
Whenever it becomes dirty, greasy or cold, and sanitiser should be remade regularly and tested.
Is the 3 sink dishwashing method required by law?
Many jurisdictions require it or an approved alternative for food businesses that wash by hand. Check local regulations.
Conclusion
The 3 sink dishwashing method is straightforward once you remember the sequence: wash, rinse, sanitise, air dry. Test your sanitiser, keep the water clean, and avoid shortcuts, and your dishes will be safer to use.
Key takeaways about 3 sink dishwashing method
Here is a short summary of 3 sink dishwashing method so you can find the main points quickly.
- The 3 sink dishwashing method is the standard way commercial kitchens clean and sanitise dishes by hand: wash in the first sink, rinse in the second and sanitise in the third, then let everything air dry.
- Food service premises use a three-compartment sink so that cleaning and sanitising are separate steps.
- Start with the cleanest items and finish with the dirtiest: glasses first, then cutlery, plates and bowls, and pots and pans last.
- You do not need a three-compartment sink in a normal kitchen.
Use this page as a starting point for 3 sink dishwashing method and come back to it when your situation changes.
Related reading:
- Elbow Bone Name: The Three Bones in the Elbow Joint
- Where Do Kernels Come From? Popcorn, Corn and Seeds
For general background, you can look up 3 sink dishwashing method on Wikipedia.